 EZVIZ no longer supports Internet Explorer 10 or earlier versions, and the site may not behave as expected. Please upgrade to a newer browser.


 FAQ
FAQ
 Manuals
 Datasheet

 FAQ
FAQ
 Manuals
 Datasheet
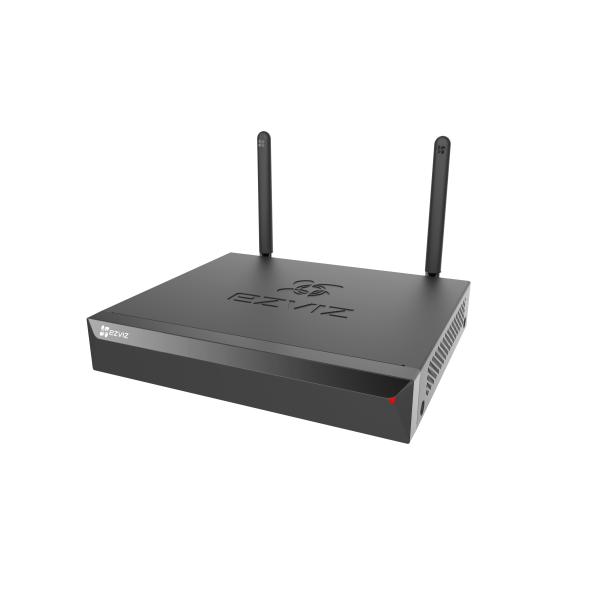
For NVR models such as X5S-4P/X5S-8P, if your wired POE cameras cannot be connected, please follow the steps below:
If all the cameras failed to link to X5S-4P/X5S-8P:
Please check to make sure the power supply is sufficient for your NVR. If yes but still not working, please try the below methods and see whether these might help:
1. Please ensure the firmware of your system is updated to the latest by going to the Menu > Maintenance > Upgrade.
2. Unplug and plug in the power adaptor again, after that, click the Shutdown button then choose the Reboot button to reboot your system.
3. You may also try to reset the NVR box.
If only some of the cameras failed to link to X5S-4P/X5S-8P, to further troubleshoot, swap the functional power cable as well as port for that camera and see whether the camera will work.
-If working, it means the issue might be with the cable or the port.
-If not working, the issue might be with the camera itself.
For NVR models such as X5C, X5S-4W, X5S-8W, X5S-16L2, and X5S-16H, if your cameras cannot be linked in the Camera Management page on the monitor (Right Click > Menu > Camera > Camera), please follow the steps below:
If the cameras are connected to the router directly:
1. ensure the camera you tried to connect to is under the same LAN as the NVR.
2. ensure the camera is close to the NVR and there is no barrier such as a wall between them when connecting.
If the cameras are connected to the NVR’s Wi-Fi:
1. ensure the camera is close to the NVR and there is no barrier such as a wall between them when connecting.
2. ensure the camera is in configuration mode.
If you need to export some clips on your monitor, please follow the steps below:
1. Log into your NVR monitor.
2. Connect your external USB storage device to your NVR’s USB port.
3. Right-click your mouse to enter the Main Menu > Export > Normal > Export.
4. Select the video(s) you want to export, select the time and date you wish to export, and click on the “Export” tab at the bottom of the page, select the destination location on your USB External Storage device and complete the process.
If you need to export some clips remotely on your mobile phone:
Unfortunately, the EZVIZ mobile app does not support selecting and downloading clips directly, so you may export on the monitor or you may manually record the clips you would like on the EZVIZ app to export by following the steps below:
1. Log into your EZVIZ account and tap on the device cover picture to go to the Live View page.
2. From the Live View tap on the "Record" icon and the recording will start, tap on the icon to stop the recording.
3. Go back to the Home page, then from the top left corner tap on the "Profile" icon, then tap on "My Album".
4. Locate the video you just recorded and save it to your mobile device.
Please follow the below steps to add your device:
1. Please ensure your NVR is online.
2. Then scan the QR code on the white sticker at the bottom of the NVR box and you should be able to add your device.
If prompted for a password during adding, please kindly note that the password would be the verification code that you could find on the white sticker of the NVR box.
If prompted for an encryption password when viewing a camera, please kindly note that the password would either be the login password you created for the NVR during the initial setup (if your cameras are set up by adding to NVR directly) or the verification code you could find on the white sticker of each camera you have (if your cameras are set up via EZVIZ app).
To reset the admin password, you may reset the NVR box by pressing the reset button (the password would be defaulted to the original device verification code on the label) or follow the below steps:
- Double right-click your mouse at the left bottom corner of the login window.
- Click on “OK” when the prompt “Restore Default Password” pops up.
- And then the password would be defaulted to the verification code(6 capital letters) which you could locate on the white sticker of your NVR.


Please follow the below steps to set up your X5S-4P, X5S-8P:
1. Connect the LAN interface of NVR to that of router using Ethernet cable.
2. For POE cameras, connect the camera to the POE port of NVR.
3. For IP cameras, connect the camera to the same router.
4. Connect the mouse to the USB interface of NVR and connect the NVR to a local monitor using a VGA or HDMI cable.
5. Connect the NVR to a power source and turn on the power switch.
6. Follow the wizard on the local monitor, create a new device password, and complete the setup.
7. Go to “Menu” >> “Camera” >> “Search” >> “Add” to link the cameras.
8. Log into the EZVIZ app > click on the “plus” tab to add a device >> scan the QR code shown on the screen or the device label.
If you want to connect without a network, please follow the steps below:
1. Power on your camera, and make the camera stay WiFi configuration status. For EZVIZ camera, it will enter the WiFi configuration status when the indicator light is red/blue or blue flashing quickly after you power on/reset it.
2. Power on the NVR, then go to the monitor >> right click the mouse to enter Menu >> enter the “Camera Management” >> click “Search” to find the camera you want to add >> click “Add”. After that, the camera will be linked to the X5C and connect X5C’s WiFi, so even if you don’t connect the X5C to the network, you can also view the camera under the LAN on the monitor.
If you want to connect with the network, please follow the steps below:
Method 1:
1. Power on your camera, and make the camera stay WiFi configuration status. For EZVIZ camera, it will enter the WiFi configuration status when the indicator light is red/blue or blue flashing quickly after you power on/reset it.
2. Power on the NVR, then go to the monitor >> right click the mouse to enter Menu >> enter the “Camera Management” >> click “Search” to find the camera you want to add >> click “Add”. After that, the camera will be linked to the X5C.
3. Go to the EZVIZ APP > click on the “plus” tab to add a device > scan the QR code shown on the screen or device label. Follow the wizard on your mobile device and complete the setup.
Method 2(only for EZVIZ camera):
1. Put camera and NVR under the same LAN. Add EZVIZ camera to EZVIZ APP.
2. Add X5C to the EZVIZ APP >> Click model name/SN number to enter the camera link page >> Click “Add a Camera” button and then “Link” button to link camera under the same account and same LAN. Follow the wizard on your mobile device and complete the setup.

