 EZVIZ no longer supports Internet Explorer 10 or earlier versions, and the site may not behave as expected. Please upgrade to a newer browser.


 FAQ
FAQ
 Tutorial Video
 Manuals
 Datasheet

 FAQ
FAQ
 Tutorial Video
 Manuals
 Datasheet
1. Please check the status of the indicator light first:
- If it is solid blue or flashing blue slowly, please refresh the home page on the EZVIZ APP to check whether the camera becomes online or not.
- If the indicator light is flashing red slowly, you can try the following two methods:
1) Please reboot your router as it may be experiencing connectivity and range issues.
2) Unplug your camera, wait for 10-30 seconds, then plug it back in to see if this solves the offline problem.
2. If the camera is still offline, you can try to reconfigure it by following the steps below:
- Connect your smartphone to your 2.4GHz home Wi-Fi network if your camera supports 2.4GHz only.
- Open your EZVIZ APP, tap the three-dot icon to enter the Device Settings page and tap the Wi-Fi button.
- Reset the device by pressing the reset button for a few seconds.
- Wait for a while, make sure the indicator light turns to flash blue quickly and tap Next.
- Check that your WIFI and password are correct. Then tap Next to connect to device AP.
- Please wait for the device to be configured and your device should be back online.
Here are usually three ways for you to download the recordings:
1. You can manually record the video while in live view mode or playback mode. While in live view or playback mode > Tap on the "Record" icon to start the manual recording. Once the recordings have been completed, your video will be saved to "My Album" on the EZVIZ APP as well as in the Gallery(Album) on your phone.
2. If you have CloudPlay service or if your camera supports downloading recordings stored in the SD card via the EZVIZ mobile app, you may follow the steps below: enter the live view page > find the video clip you want to save and tap the "Download" button at the bottom right > then tap the recording clip again and it will be added to the download list automatically. Then you may check the recording(s) in "My Album" on the EZVIZ APP as well as in the Gallery(Album) on your phone.
3. Alternatively, for some specific models, if you want to export the recordings saved on the SD card, you can also do it through EZVIZ Studio by following the steps below:
1) Download and install the EZVIZ PC studio on a Windows PC
2) Put the camera and PC under the same LAN
3) Configure the Advanced settings by following the instructions here
4) Click All devices and enter the Advanced Settings--Storage--File, then choose the date you want to and export it
If you are experiencing difficulties with audio pickup during live view or playback, please follow the steps below:
1. Make sure that the volume icon is not muted and that the Audio Settings are also enabled on the Device Settings page.
2. Check that the speaker volume on your phone is turned up and working properly. You can go to your phone's settings page to check the sound settings, make sure the media sound is turned on, and the phone is not in Do Not Disturb or Focus mode (for iPhone).
3. If your EZVIZ devices support two-way talk, please check if you can hear any sound when using two-way talk.
If the problem persists or if you encounter any further difficulties, please don't hesitate to reach out to EZVIZ customer support for additional assistance.
Please follow the steps below:
1. Check the power source: Make sure the power outlet you're using is working properly. You can also try plugging the camera into a different outlet.
2. Check the power cable: Check that the power cable is not damaged or frayed. You can also try using a different power cable to see if this solves the problem.
3. Reset the camera: Try resetting the camera by pressing and holding the Reset button for about 10 seconds. This will usually restore the camera to its default settings and may help to resolve minor problems.
If the problem persists or if you encounter any further difficulties, please don't hesitate to reach out to EZVIZ customer support for additional assistance.
Please note that for most EZVIZ devices, there are usually three ways to obtain the 6 capital letter device code:
1. You can find it on the device label of the EZVIZ device. For doorbell devices such as DB1, please remove the device cover and scan the QR code with a third-party QR code scanner.
2. For some models, there is a QR code on the manual cover that contains device information (Note: there is no such information if the cover says "scan the QR code for detailed manual"). And you can use a third-party QR code scanner to scan it to get the device code.
3. Alternatively, you can find it in Digital Device Information or Device QR Code in Camera Settings-Device Information/About on the EZVIZ mobile app.
*Please note that for backend devices such as X5 and X4, the device code is the admin password that you set when you set up the device.
If you still need further assistance, please feel free to contact the EZVIZ support team at support@ezviz.com.
To better assist you, please provide the following information by contacting EZVIZ at rma.glb@ezviz.com:
1. the 9-digit SN of your EZVIZ camera
2. the email address you used to subscribe to CloudPlay
3. the payment for which you are requesting an invoice
4. if the invoice is requested for your company, please provide us with the company information as well.
Please note that if your CloudPlay service is still in the free trial period, you will need to contact us with the above information when you actually pay for the subscription after the free trial period ends.
Please follow the steps below:
1. Press and hold the RESET button on your camera for about 5-10 seconds to reset it. This will allow you to start the process of reconnecting the device to the Wi-Fi.
2. Make sure your EZVIZ device is Wi-Fi configuration mode.
3. Open the EZVIZ mobile app on your smartphone.
4. From the Home page of the app, tap the 3-dot icon next to the name of your camera to enter the Device Settings page.
5. Tap the "Wi-Fi" or "Network Settings>Wi-Fi".
6. Follow the prompts and instructions in the EZVIZ mobile app to reconfigure your device to the network.
1. Log into your EZVIZ account on the EZVIZ mobile APP.
2. Reset your camera by pressing the reset button for about 10-15 seconds, for some cameras you will hear the voice of "Reset successfully". Then wait for about 1 minute or a few seconds, when you see the indicator light change into red-blue flashing alternately or blue light flashing fast (for some cameras, there is no light change for your reference).
3. Connect your phone to 2.4G wifi only, then tap the "+" button on the home page to scan the QR code which is on the label of the device. You can find a label on the back or bottom of the device.
4. Then follow the instructions on the APP to connect the device to your wifi.
5. After adding the device to your account, you will be able to view your camera(s).
*Please note that one device is only allowed to be added under one account. Please make sure the device has been deleted from another account before you add it.
1. If you registered an account via email, please check your junk mail. If you still do not receive the verification code, you may have an email filter/block that is restricting this email. Please check with your email provider.
2. If you registered an account using a mobile phone number, please confirm that your mobile phone can receive SMS short codes. You can also try clearing the cache on your phone, restarting your phone, or inserting the SIM card into another phone to see if you can receive it.
3. If the issue persists after following the above steps and you need additional assistance, please provide your camera's SN, your phone number/email address, your country, the time of your request and a short video of the issue to the support center at support@ezviz.com.
Please kindly note that the device is programmed to timeout every few minutes if you are streaming through our VTDU servers. You can simply tap on the "Continue" button to continue streaming. Besides, if your device supports the LAN Live View feature, you can avoid this by putting your camera and your phone or PC under the same LAN (connecting to the same network), and then going to the More page (click the profile photo on the left top corner) > Settings > LAN Live View (for mobile phone) or Devices on LAN (for PC Studio). There you could view the camera continuously.
However, even when you are on the same network, you should ensure that the computer you are using is connected to the router using a cable, or if you are using a mobile phone or tablet, please ensure that you have Upnp enabled on your router.


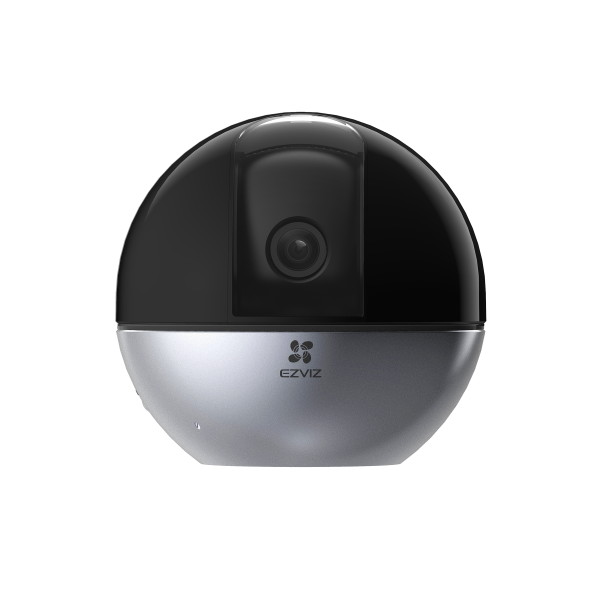
Indoor Pan & Tilt Cameras Tutorial

Europe
-
English
C6W User Manual
-
Deutsch
C6W User Manual
-
Español
C6W User Manual
-
Français
C6W User Manual
-
Italiano
C6W User Manual
-
Nederlands
C6W User Manual
-
Polski
C6W User Manual
-
Ελληνικά
C6W User Manual
-
Český
C6W User Manual
-
Slovensko
C6W User Manual
-
Norsk
C6W User Manual
-
Svenska
C6W User Manual
-
Dansk
C6W User Manual
-
Suomi
C6W User Manual
-
Português
C6W User Manual
-
Magyar
C6W User Manual
-
Latviešu
-
Türkçe
C6W User Manual
APAC
-
English
C6W User Manual
-
한국어
C6W User Manual
-
Tiếng Việt
C6W User Manual
-
ภาษาไทย
C6W User Manual
-
Indonesia
C6W User Manual
-
繁體中文
C6W User Manual
-
日本語
C6W User Manual
MEA
-
English
C6W User Manual
-
Français
C6W User Manual
-
Español
C6W User Manual
-
Русский
C6W User Manual
-
العربية
C6W User Manual

